
« Back to Knowledge Base


Capturing a Free Teams Call or Meeting into vMix
This guide will explain how to send and receive video/audio between vMix and the Free version of Teams, using the same computer.
If you have a paid version of Teams such as a subscription plan or business account, you can instead utilise the NDI capabilities included with Teams. The steps for that can be found in the below linked knowledge base article:
As the Free Version of Teams does not include NDI capabilities, this guide will explain an alternative way to capture it into vMix.
Requirements for Capturing Teams into vMix
- Free version of Teams
- A licensed copy of vMix
- VB-Cable Virtual Audio Device software - https://www.vb-audio.com/Cable/
- Latest version of Newtek's NDI Tool Pack which contains the NDI Webcam Input (formerly known as NDI Virtual Input) program we will be using in this guide. https://ndi.tv/tools/
- Two separate displays connected to the same graphics card.
Workflow
Step 1
Firstly make sure that both the VB-Cable Virtual Audio Device and NDI Webcam Input programs are installed via the links provided above.
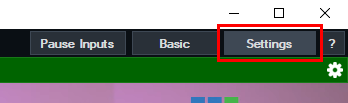
Open vMix and select the Settings button from the top right hand corner.
Step 2
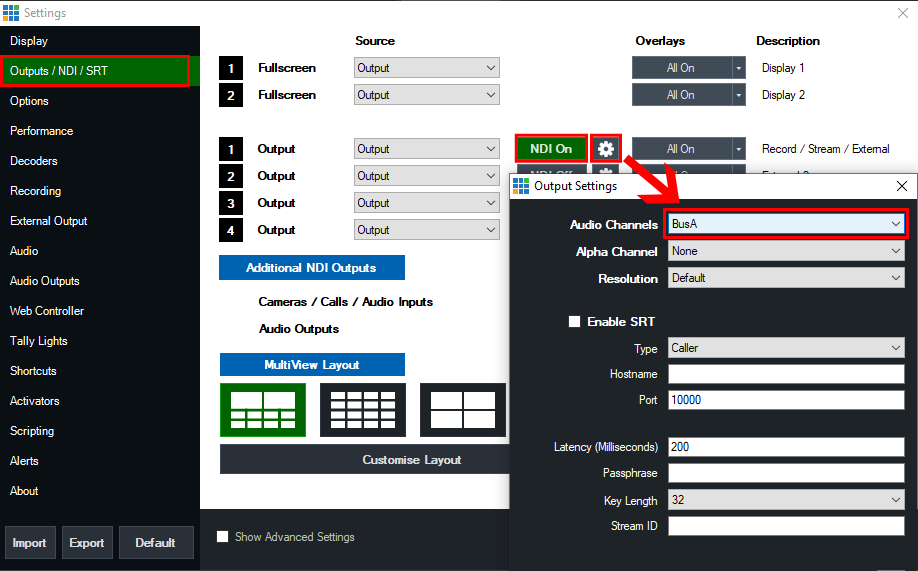
Select the Outputs/NDI/SRT tab. Next to Output 1, tick the NDI button so it is green and says NDI On.
Next click the cog icon to the right of this and select BusA from the Audio Channels dropdown menu. This will enable the NDI output from vMix with BusA audio included. Using Bus A audio means we can control what audio is sent back to Teams - to avoid any audio feedback.
Step 3
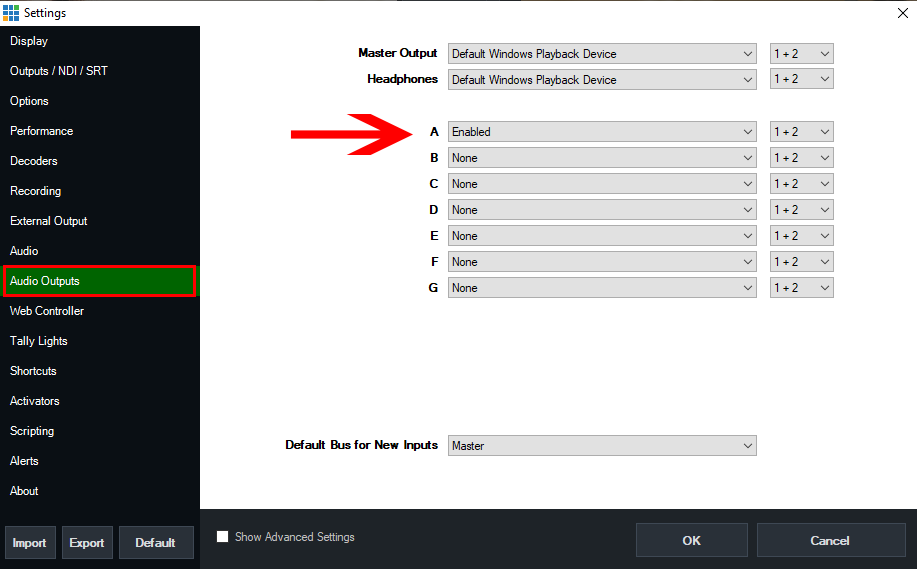
Next go to the Audio Outputs tab and set the Bus A option to Enabled.Step 4
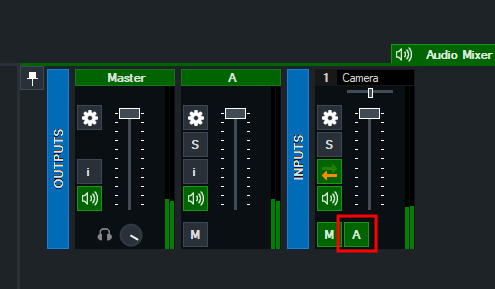
Go to the Audio Mixer in vMix. Activate the Bus A button on any audio inputs you wish to send to Teams. Such as your Microphone input or Camera input with embedded audio.
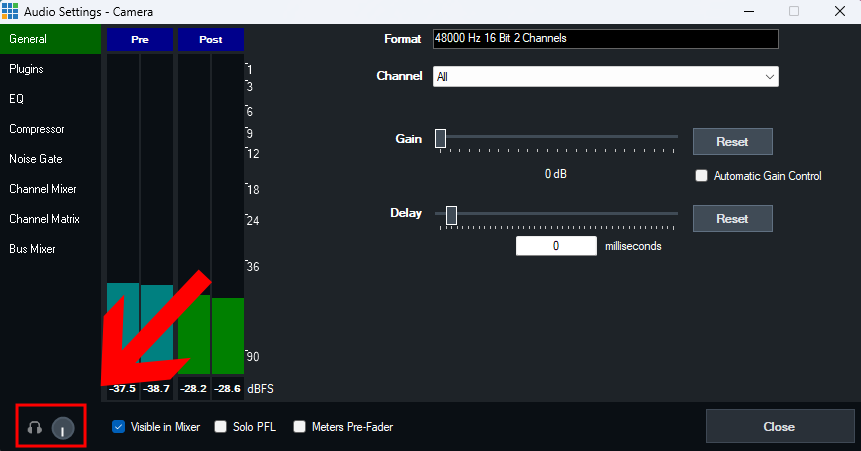
You can also choose to turn down the volume of your microphone in your headphones so you don't hear your own voice. To do that, click the cog icon button on the audio input to open its audio settings. Then turn down the headphones volume in the bottom left corner all the way down.
Step 5
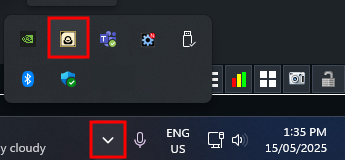
Open the NewTek NDI Webcam Input program that comes installed with the Newtek NDI Tools pack. Once running, click the arrow in the task tray at the bottom right of Windows and click the yellow and black NDI icon.
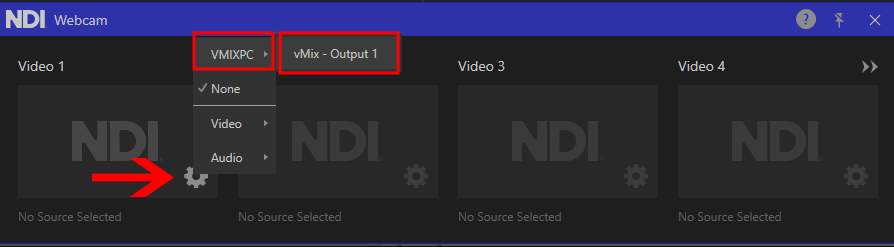
Click the cog icon button on Webcam 1. Then from the menu select your computer name -> then select vMix - Output 1.
Step 6
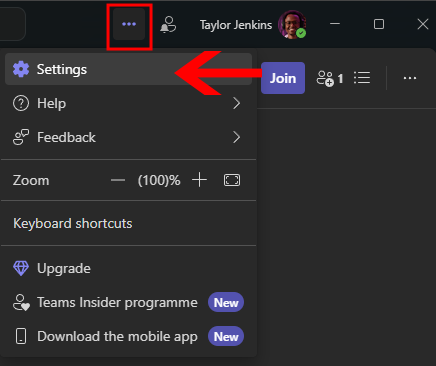
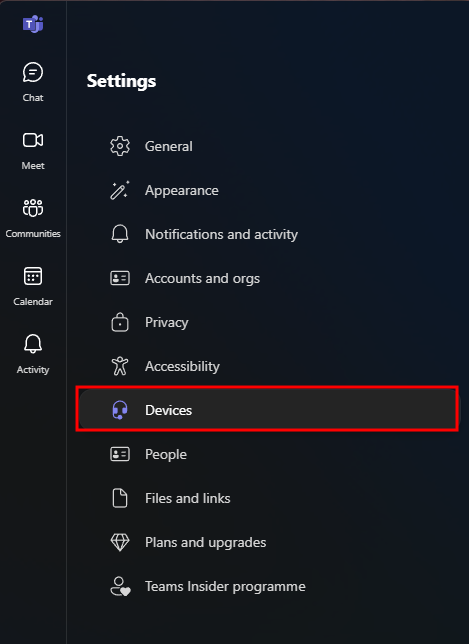
Open Teams. Then click the 3 button icon up the top and choose Settings.
From the left sidebar, select Devices.
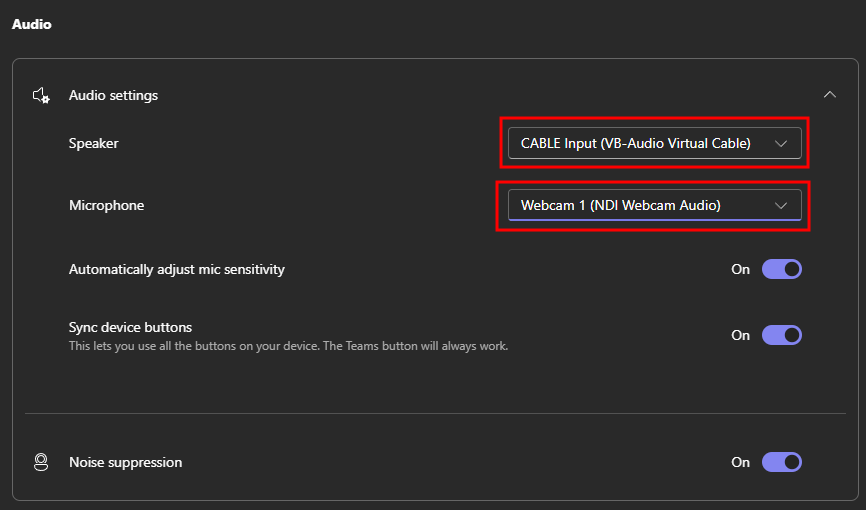
Under the Audio section, choose the following:
Speaker: CABLE Input (VB-Audio Virtual Cable)
Microphone: Webcam 1 (NDI Webcam Audio)
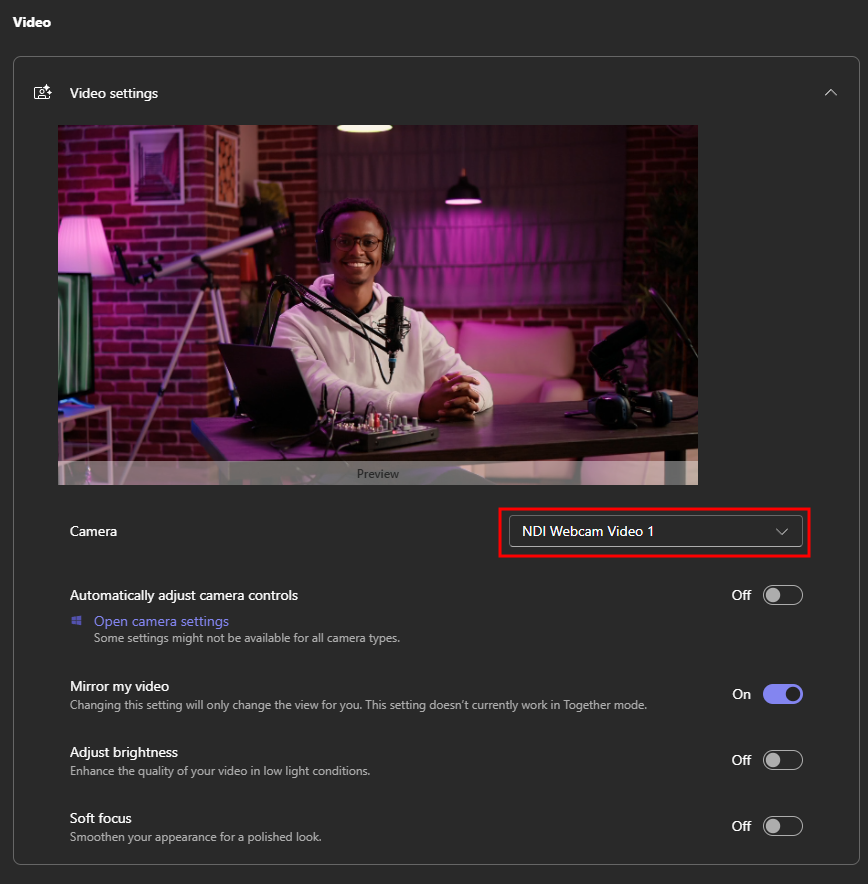
From the Video section next to Camera, select NDI Webcam Video 1 from the dropdown menu.
Once configured, you can start your Teams meeting or video call. Make sure Teams is displayed fullscreen on a secondary monitor as this will allow us to capture it into vMix.
Step 7
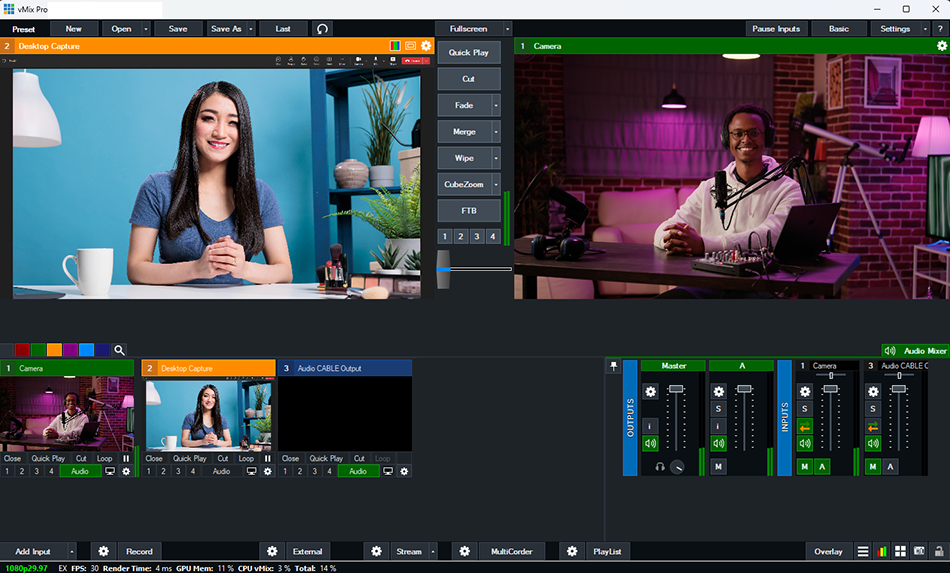
Once your guests have joined your Teams meeting or Video Call, we can now add them into vMix. To add the video, select the Add Input button from the bottom left corner. Then select the NDI / Desktop Capture tab. Choose the Local Desktop Capture button from the top. From here, select Microsoft Teams. Often it will be Microsoft Teams 2 depending on how many windows you have open in Teams. Select one till you find the correct one showing your meeting/call.
Step 8
Next we will add the audio coming from Teams. Select the Add Input button from the bottom left corner. Then select the Audio Input tab. From the Audio Device drop down menu choose CABLE Output (VB-Audio Virtual Cable). Then press OK.
Step 9
Now that our Teams video and audio is in vMix, we can use it as part of our production.
(Note: Make sure not to enable the Bus A audio button on the Teams audio input (Audio CABLE Output) so that the guest does not hear their own audio back as an echo).
Last Updated: Thursday, May 15, 2025 2:48:47 PM